Pre-digitisation conservation
Table of contents
Sending specimens for repair
Which specimens to send for repair?
- All specimens covered with cellophane or polythene; and any type specimens stuck with sellotape. (Please image these after repair if at all possible.)
- Specimens with a lot of loose or broken pieces (rule of thumb: ‘if you can’t pick it up without something falling off then it needs repaired’ – this will partly depend on how rigid the mounting sheet is).
- If there are just a few small loose pieces put them in the capsule if there’s one on the sheet. If you need to add a capsule see section 4 below.
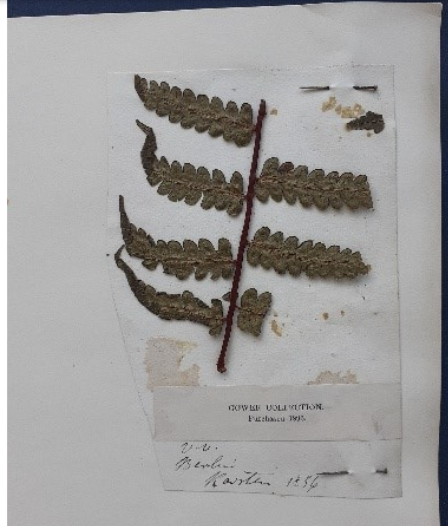
- Specimens on very small sheets, and specimens attached with pins

Procedure
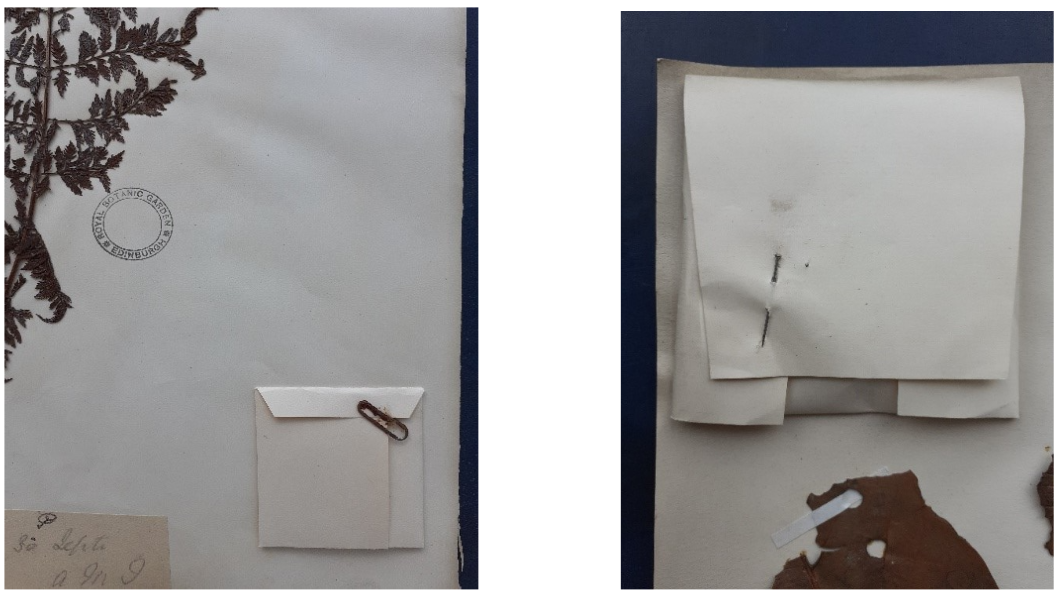
- Please remove any old rusty paperclips yourself (replace with a new brass one if necessary). You can also replace pins in capsules with a paperclip.
- Put each specimen for repair in a flimsy (paper folded like a species cover), with a completed repairs slip paperclipped on, and put it in your ‘Specimens for repair’ box.
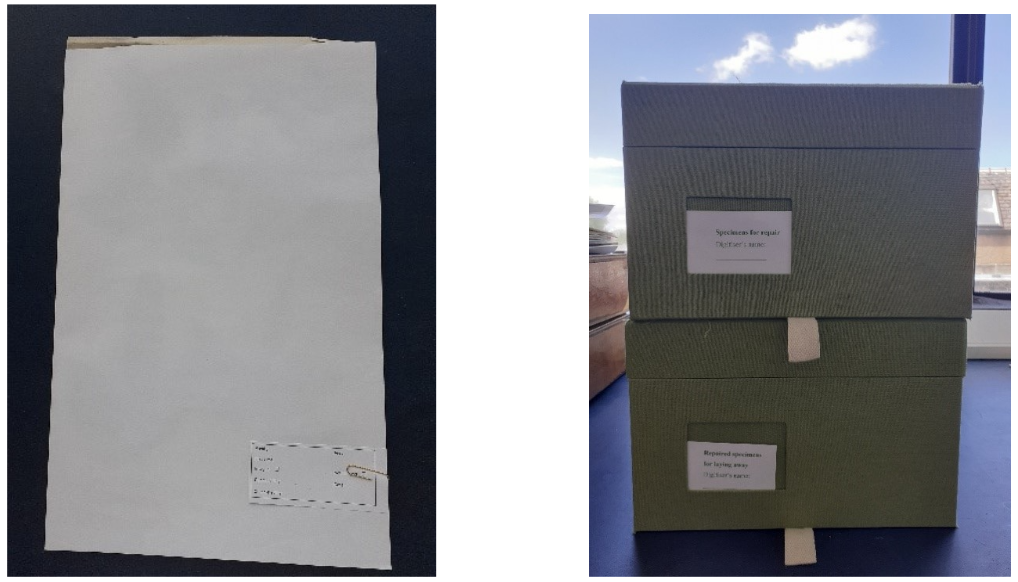
- These will be collected weekly and returned to your ‘Completed repairs’ box asap for you to lay away.
- If your ‘For repair’ box is filling up very quickly, we may decide to record some repairs for completion at a later date.
Using protective covers for specimens
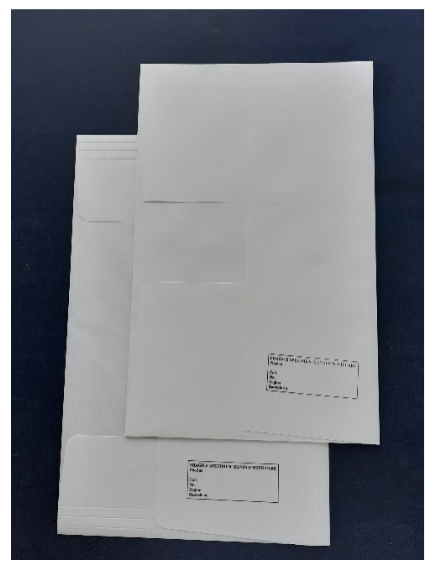
White folders:
- Specimens with fragile fluffy seedheads (eg some Compositae) and conifers with loose needles etc
- Specimens on very fragile, brittle paper (often from the ‘Lace Herbarium’)

- White folders come in two sizes – please use the slightly smaller one whenever possible as we have more of them!
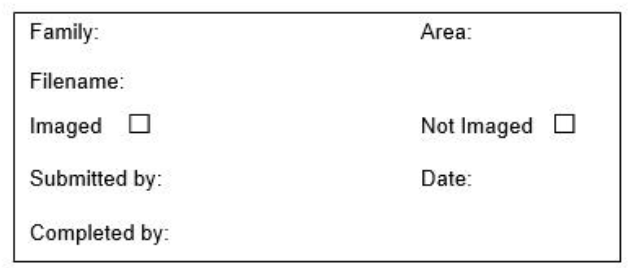
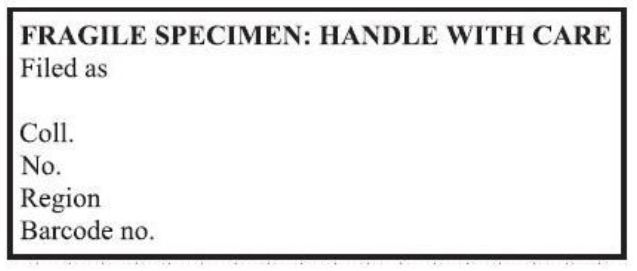
- Fill out the stamped form on the front in pencil
Grey boxes:
- Use a grey box if a bulky specimen is distorting others in the folder
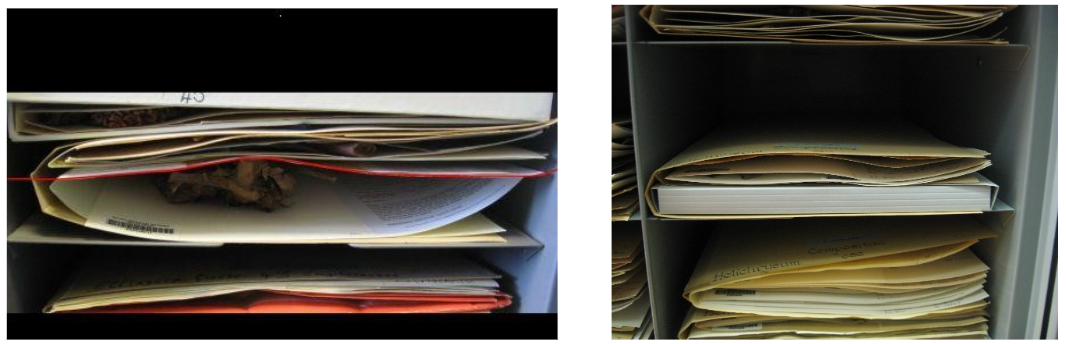
- Due to the limited amount of space in the herbarium cabinets, only use them when absolutely necessary. Wherever possible, place the box at the bottom of the Genus cover, and preferably at the bottom of a shelf.
- Complete the stamped form on the outer flap in pencil, as for the white folders (see above).
DIY: attaching det slips and capsules
Det slips
- Use methylcellulose glue for attaching det slips to specimens dated pre-1840 and important collectors. This is good conservation practice as the glue is fully reversible and sympathetic with the materials.
- Use tweezers to hold the det slip and paint the glue on one end and then the other end (indicated in blue)
- Once applied to the specimen the tweezers can be used to lift and apply additional glue to the corners of the det slip if required
- Suggested position: near label and bottom of specimen
- Touch test for dryness, be careful of excess around edges of det slip that can be smeared on specimen.
- Avoid attaching a det slip by one side unless space constraints mean this is the only option
- Brush can be used for a session of repair and then should be washed and dried with a paper towel
- PVA glue can be used for attaching det slips on newer specimens, and the glue can be applied across the whole back surface of the det slip.
Capsules
- Use double sided archival tape for attaching capsules to specimens dated pre-1840 and important collectors (most newer specimens will already have a capsule). This is good conservation practice as the tape attachment is fully reversible and sympathetic with the materials.
- Wet both sides on damp sponge using tweezers
- Apply to back of capsule
- A small capsule containing flat material like a leaf only requires two pieces
- A larger capsule or one that will contain bulky material should have four pieces of tape
- Try to use the smallest capsules.
- Press capsule down on mounting board in one of the corners: for thinner older sheets, put it in the bottom left if possible
- Open capsule and rub over centre to promote strong adhesion
- A weighted bean bag should be placed over the empty capsule whilst it dries out if it will contain bulky fruits
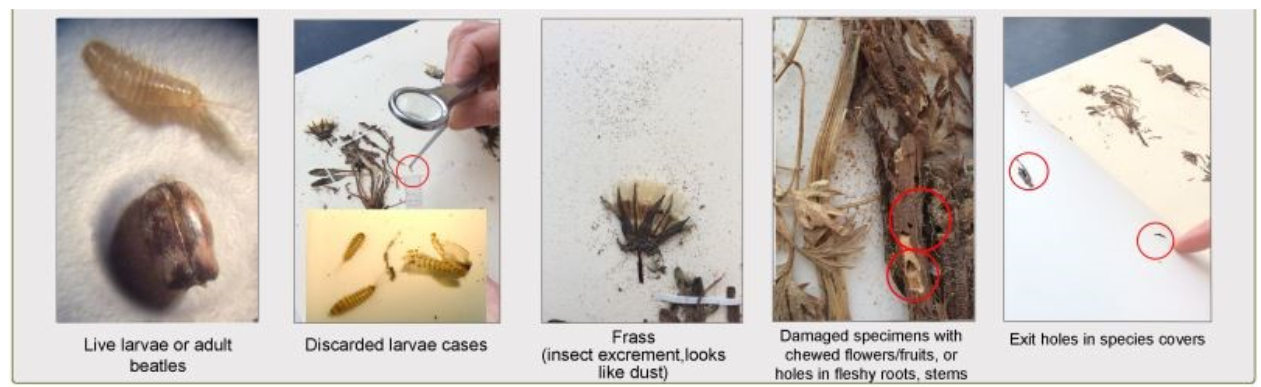
Identifying insect damage
- Herbarium beetles (Trogoderma) and their larvae can seriously damage specimens.
- The beetles and larvae are small, approx. 1-3mm.
- If you see any of these, follow the instructions in the flow chart below.