Requests - How to manage a Loan request
Table of contents
- Requests - How to manage a Loan request
- How to create a Loan record and enter information about the loaned material
- Producing a packing list for sending with the Loan
- Recording receipt of the loan from the borrowing institute
- Recording an extension, if required
- Recording return of the loaned material
- Recording return of the loaned material - althernative method
- Closing the loan
In Specify, an outgoing loan is treated as a Loan interaction.
How to create a Loan record and enter information about the loaned material
There are several options for creating a record with the specimens to be loaned. Each user may want to use the method that works best for them and the loan in question.
- Option 1: Create a record set of Collection Object records based on a query prior to creating the loan record.
- Option 2: Create an empty loan record and add specimens either by entering preparations individually or by adding a record set as outline above.
- Option 3: For large or complex loans, it may be better to use Specify6 where you will be able to select the preparations to be loaned by the barcode.
This guidance will focus on Option 1 as the default.
With the loaned material and request documentation at hand, open Specify7 to create a record set.

Use a Query to select the Collection Object records. This may be based on reading in a set of barcodes if you have the specimens at hand (see below) or by querying on a taxon or region
Example: E01035973, E01035943, E01035944, E01035945, E01035946, E01035947, E01035948, E01035949
Save the results as a record set.
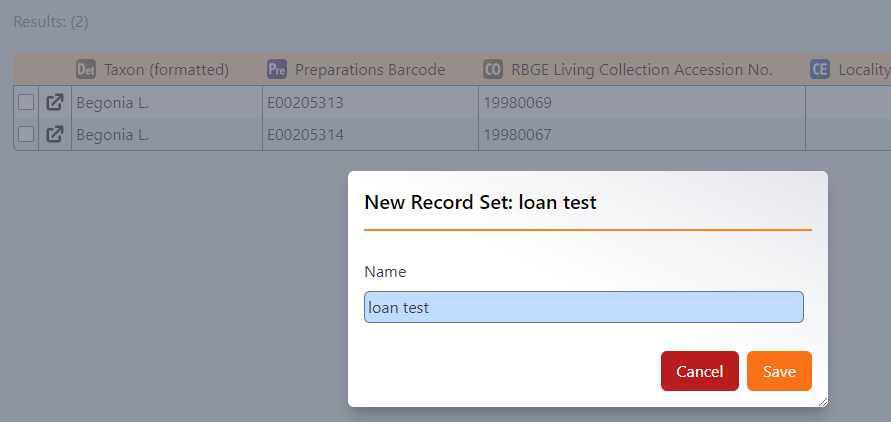
Click on Interactions and select Loan.
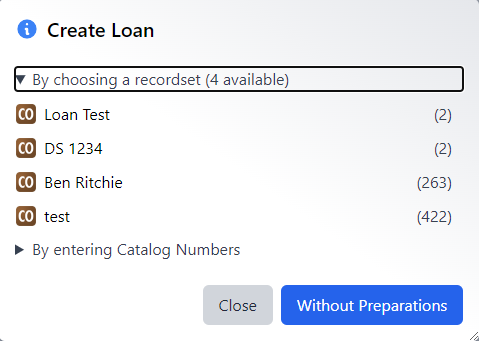
In the pop-up window, the record sets you have saved should be visible and available. If there are no record sets saved, you will not see this option.
Select the appropriate record set for the loan.
You will now have the option to select the preparations for the loan. Since the query was carried out on Collection Objects, if there are multiple preparations for a single Collection Object you will see all the preparations in this list and will need to select the preparations going on loan.
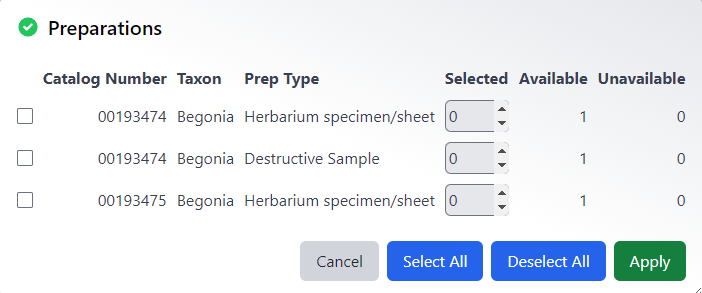
Select the appropreate Preparations, or click Select all, then click Apply.
This will open a Loan record with the preparations attached.
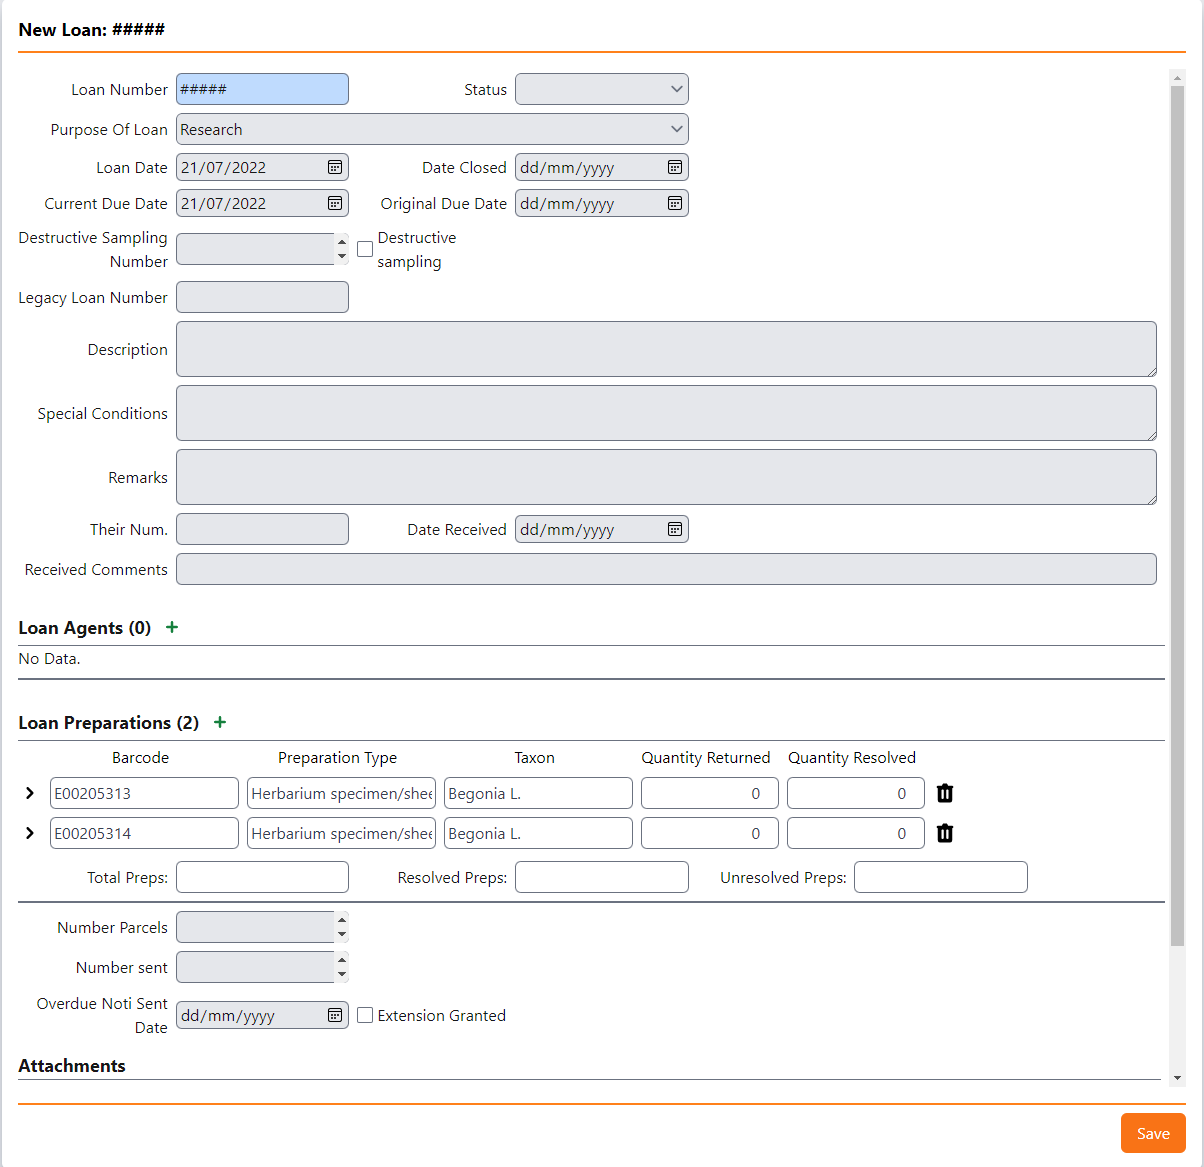
Information relating to the loan request can now be recorded, including the contents of the loan, any restrictions relating to the use of the specimens being loaned and the duration of the loan.
- Loan Number: The Loan Number is allocated when the record is saved so do not enter anything into this field -Status: Enter the status of the loan, eg Pending, Shipped
- Purpose of Loan: Select reason from the picklist options: ‘Display’, ‘Research’ and ‘Teaching’. ‘Research’ is currently the default value.
- Loan Date: By default, today’s date will be automatically entered here. This should not normally be changed. Tip: The default duration defined in the preferences will determine the Current due date (in the example below the current due date is 12 months after the loan date).
- Date closed: Enter the date when the loan is closed.
- Current Due Date: If the duration of the loan differs from the 12 month default, then manually edit the date the material is due to be returned.
- Original Due Date: This should be the same as the Current Due Date unless an extension has been granted.
- Destructive Sampling and checkbox: If there is a related destructive sampling request, the checkbox should be ticked and the destructive samplng record number entered.
- Legacy Loan Number: This is a read loan field for the loan number in BG-BASE.
- Description: Enter a summary of the contents of the loan, including a description of the specimens, number of types, etc. The Description field was migrated here from BG-BASE.
- Special Conditions: Enter any restrictions relating to the material for the receiving institute. This would potentially appear on the loan documentation in the future.
- Remarks: Enter any additional information here. This information would not appear on the loan documentation in the future.
- To contain:
- Project information
- Destructive sampling if requested
- Not the place for:
- Taxonomic descriptors. This would go in contents field in order to be pulled through into the loans letter
- Number of specimens – information available elsewhere
- To contain:
- Their Num.: Enter the other institute’s reference number, if known.
- Loan Agents: Click on Add to enter the following information if known:
- Herbarium making request: Agent = Herbarium; Role = Institution (The IH code can be used to search by using wildcard characters (* or %) before and after it.) Tip: Please use this role to set the address for the shipping documents
- Individual researcher named on request: Agent = individual’s name; Role = Requester
- Supervisor if named on request: Agent = individual’s name; Role = Supervisor
- Individual approving the loan: Agent = individual’s name; Role = Approved Tip: One or more agents can be recorded for each role in the approval process. The preparer will be considered to be the person who is creating the record, but can be recorded separately if someone else has prepared the loan.
- Remarks: There is an additional Remarks field in the Loan Agents subform. Any additional information about the agent relating to this particular loan and role can be added here.
- Number Parcels: Enter the number of parcels being sent.
- Loan Status: When the material shipped, update the status to Shipped Complete.
Producing a packing list for sending with the Loan
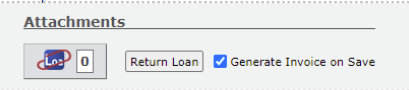
After Clicking Save, tick Generate Invoice

A pop-up window will give you the option of the document to print. Select Loan Packing List and click Ok
A pdf document will be created containing a summary list of the specimens being loaned. This can be printed for inclusion with the shipment.
This can also be saved and added to the Loan record as an attachment. When saving the report a range of options is available, including PDF, docx and xlsx. Please use one of the agreed standards that are supported by RBGE.
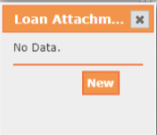
To add the saved file as an attachment, go back into the Loan record and click on the Attachments icon.
Click New
Choose file and click New.
There is an option to make the attachment private. This has not yet been explored.
Click Done.
If another report is required, click on the Reports button on the top menu. In this case, you will need the Loan number.
In future the following reports will also be available: Outgoing Loan and Loan Recall. These can be created from the Reports menu on the left of the Specify window.
Enter the Loan record number to bring up the relevant report. For a large loan, it may take a few minutes to create the report.
Recording receipt of the loan from the borrowing institute
Enter the following information:
-
Date Received: Enter the date the loan was received by the borrowing institute.
N.B. This date was not recorded previously, for loans migrated from BG-BASE the loan trans_dt was migrated into this field

- Received Comments: Enter any comments from the receiver of the loan.
Recording an extension, if required
If an extension is requested and approved, open the Loan Record and update the Current Due Date to the new, agreed due date, leaving the Original Due Date unchanged.

Tick the Extension Granted checkbox.

Recording return of the loaned material
When specimens are returned from the borrowing institute, open the Loan Record and click on the Return Loan button at the bottom of the form.
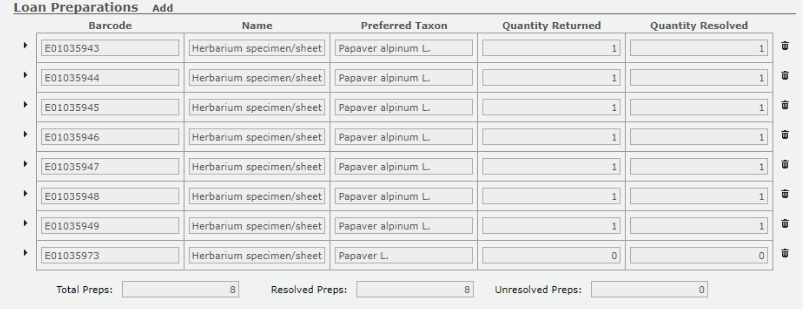
Select the specimens being returned and click Apply. When you save the Loan record, the numbers in the Total Preps, Resolved Preps and Unresolved Preps will automatically update
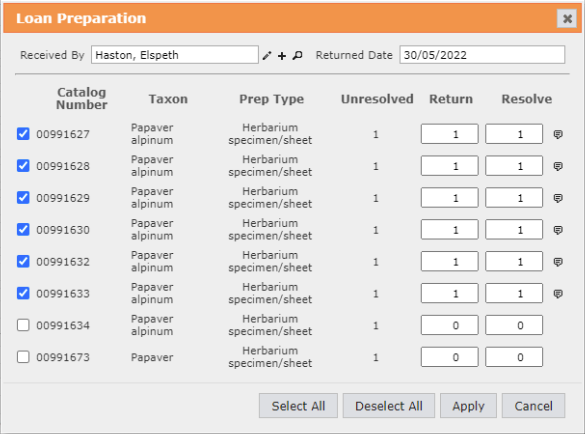
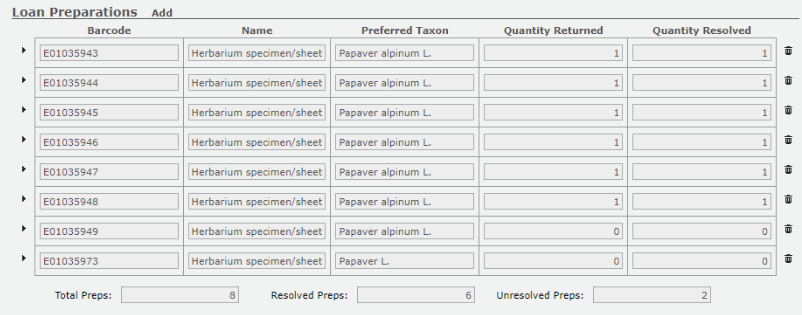
If you did not select all the specimens to be returned, you should see that there will be some Unresolved Preps. These can be resolved by either adding them as a return at a later date, or by resolving them manually with a note.
Recording return of the loaned material - althernative method
The above method works well when a full return has occurred. if only a partial return is recieved, the below is recommended: Perform a query to find the specimens that have been returned. this can be done by way of the “Loaned Preparations (For Returning) Query: https://herb-rbge.specifycloud.org/specify/query/110/ Click query, and check that the items are as expected: 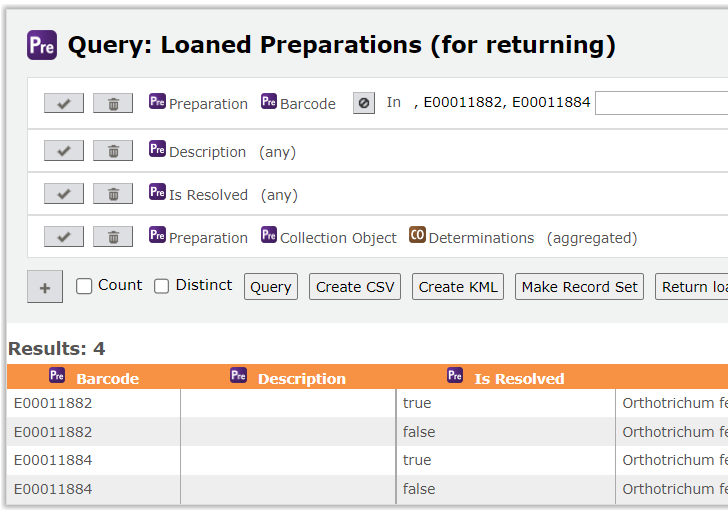
then click “Return Loaned Items”. Note, this button will only appear if the query is returning Loan Preparation items (as this one does).
Closing the loan
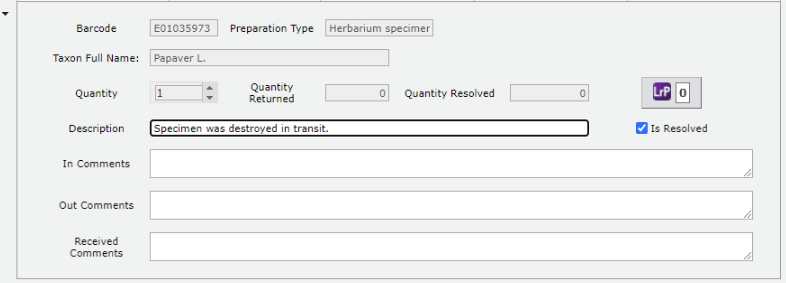
When all the specimens have been returned the Loan Record can be closed. Any specimens which will not be returned can be resolved. The Quantify Returned box should be left as 0, and the Quantity Resolved box should have a 1. A note can be included to explain the reason in the Description field for each appropriate specimen.
- Date Closed: Enter the date on which the loan is closed.
