How to use Carry Forward
Carry Forward allows data in selected fields to be copied between new records. The fields that are carried forward between records are defined by the user and can be adjusted depending on the task.
How to enable and configure Carry Forward
To enable Carry Forward for a Data entry form click on the cog  at the top right of the screen. This opens the Form Meta screen for the page:

To enable the Carry Forward button select the tick box for showing Carry Forward. To configure which fields are included when the Carry Forward button is selected click on the cog next to Show Carry Forward button:

This opens up the ‘Configure fields to carry forward (Table Name) screen. The first time you open this screen a large number of fields will be selected:
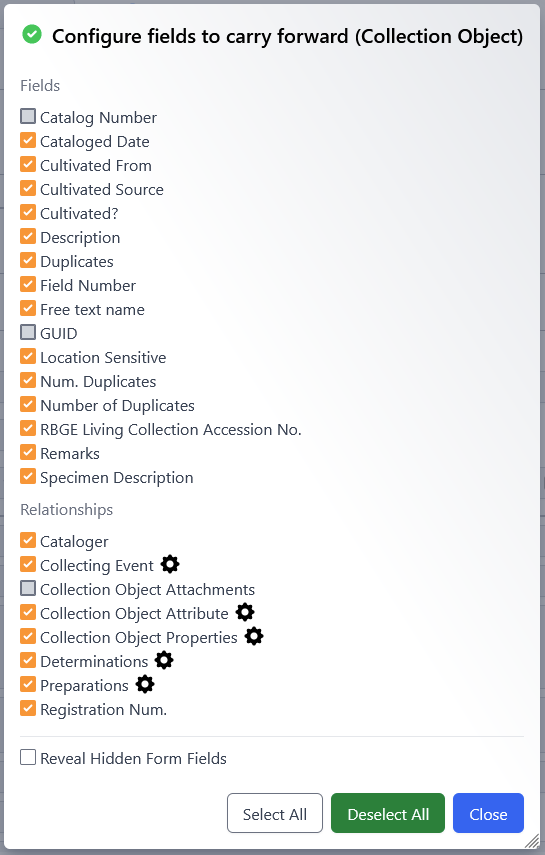
It is strongly advised that all fields are deselected before configuring carry forward for the first time.
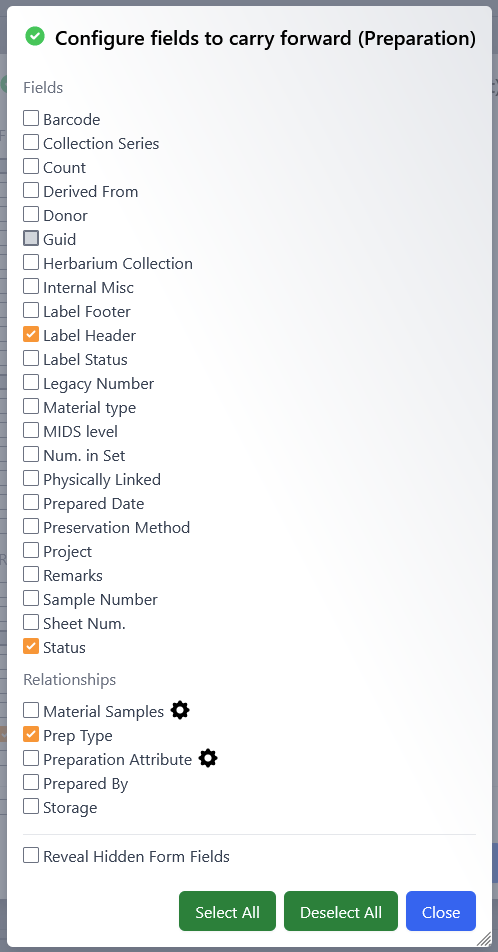
The screen that is initially opened relates to the table you started in e.g. if you are in the Collection Object table, the configuration will be for the Collection Object table. To configure any sub tables e.g. Preparations you will need to click on the cog next to that table in the Relationships section. This opens up another ‘Configure fields to carry forward (Table Name) screen. It is again strongly advised that all fields are deselected before configuring carry forward.
To select a field to carry forward click on the field name, selected fields will have an orange tick to the left of field name.
To ensure that values from a sub table are included in Carry Forward the sub table needs to be selected. 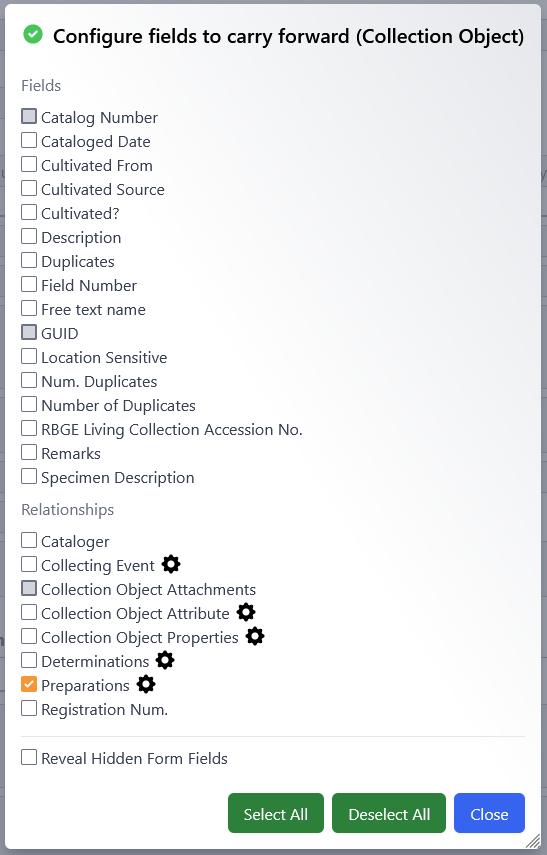
Once all fields have been selected for a particular table, click close at the bottom right, the settings are automatically saved. Once you have completed configuration for all tables click close on the Form Meta screen.
You should now see a button for carry forward at the bottom right of the data entry screen.

How to use Carry Forward
Once you have configured carry forward you will be able to start using it. After saving a record where you want to Carry Forward the data for your selected fields, click on the Carry Forward button. This will create a new record with the selected fields already filled in with the same data as the previous record.
Guidlines for using Carry Forward
- The Carry Forward button will only copy data for fields that have been selected in the configuration screens.
- When selecting fields be aware of which ones will be the same between records and which will be unique. Only set Carry Forward for the values that will be the same between records.
- Before using Carry Forward for a new task check which fields are selected.